With the recent release of the latest Oracle XE version, 18c (18.4), I wanted to get a sandbox server up and running similar to what I had done in my previous post: Create APEX instance in the cloud with OXAR
Those instructions used OraOpenSource OXAR to quickly build a fully functional instance of Oracle XE and APEX. But it was written for the old version of XE and plans to update it were not likely (Issue 258). I haven't worked with Docker enough to quickly build up a server using Docker containers so I went though the current OXAR configuration and updated it to work with the following versions:
Oracle XE: 18.4.0.0.0
APEX: 18.2
ORDS: 18.3.0
Provisioning the Server
DigitalOcean offers affordable pricing for online virtual machines. You can sign up for DigitalOcean and receive a credit using this referral link: https://m.do.co/c/065d9de8f0ba
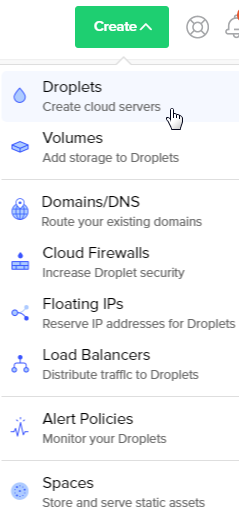
After you have signed up for DigitalOcean click the Create button and choose Droplets (droplets are basically what DigitalOcean calls it virtual machines).
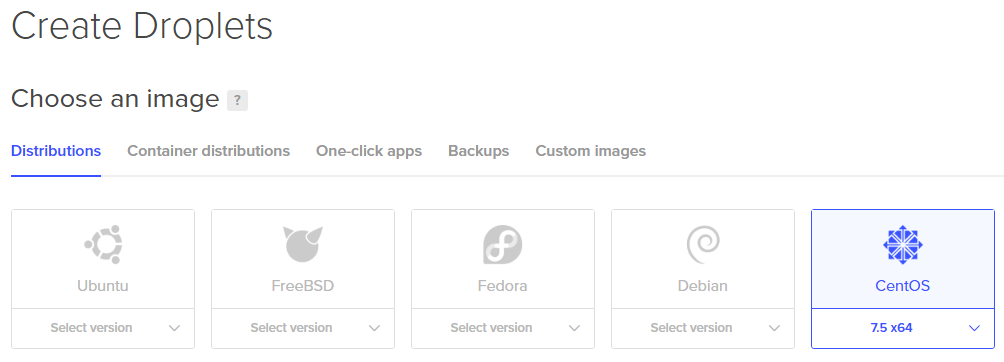
Next select the image distribution: CentOS 7.5 x64
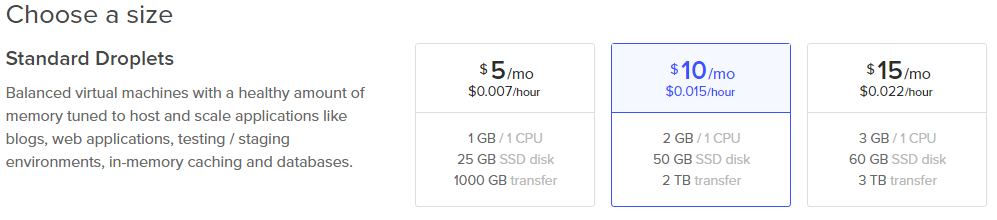
Select the server size you want to build. For this example I chose the 2GB size (the database wouldn't install with the 1GB option)..
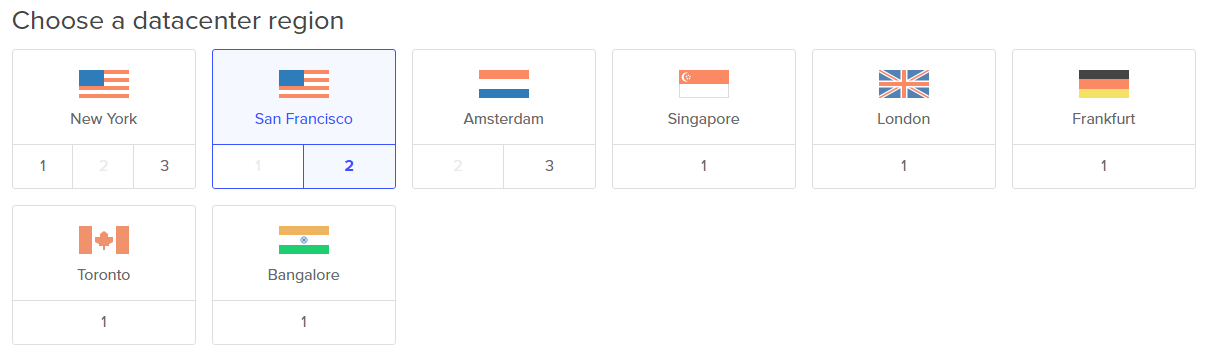
Scroll down and select a datacenter region. I chose San Francisco since it is the nearest location to me.
You can manage the server by using passwords or by utilizing SSH key pairs. If you want to just use passwords skip this SSH Keys step.
SSH Keys
SSH Keys
Based on this article I created and added an SSH Key.
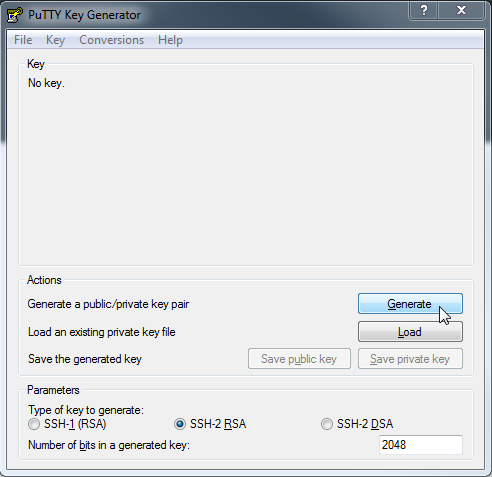
Run the PuTTY Key Generator application.

Click the Generate button
If desired add and confirm a key passphrase. Highlight the generated key and copy it to the clipboard. Click the Save public key button and save the file as a .txt file.
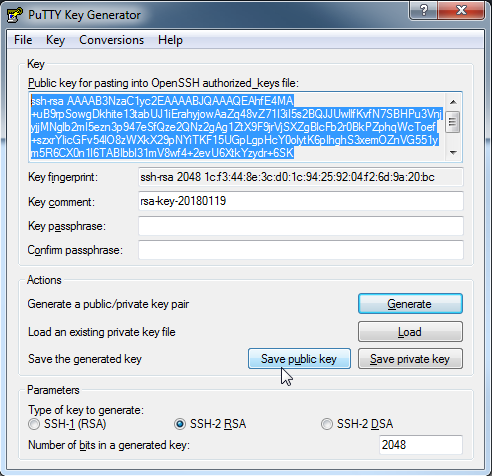

Click the Save private key button and save it as a .ppk file.

You can close the PuTTY Key Generator application at this point.
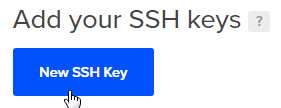
Return to the DigitalOcean create droplet page and click the New SSH Key button.
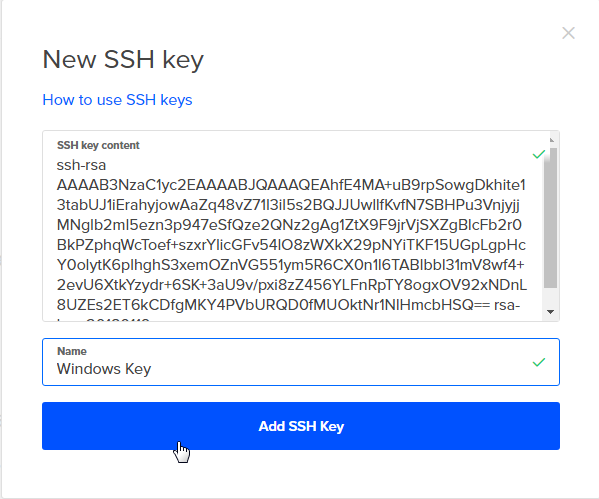
In the SSH key content field past the key that you previously copied into the clipboard. Enter a name into the name field and click the Add SSH Key button.
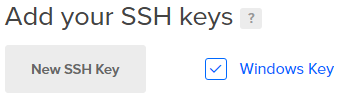
The named key is added.
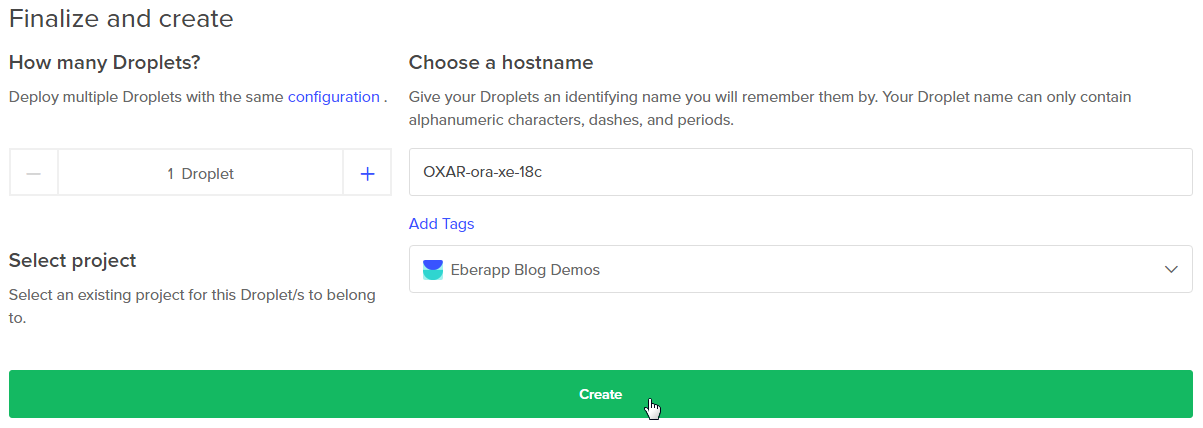
Finally, enter a name for your server and click the Create button.
The droplet will be created. If you did not add an SSH key an email will be sent to you with the root password.
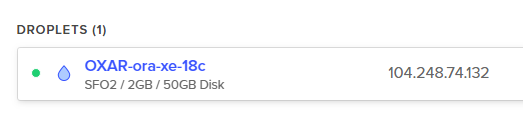
Note the IP address of the droplet or hover over the IP address and a copy link will display that can be clicked to copy the IP address to the clipboard.

Connecting to the server
DigitalOcean has an Access console option to connect to your server or use your favorite terminal program to ssh into your server using the IP address of the server.
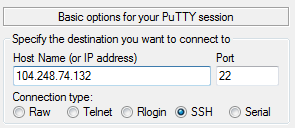
I'm on windows and like the puTTY application. The following steps show how to configure and save a session which can be used for connecting to the server.
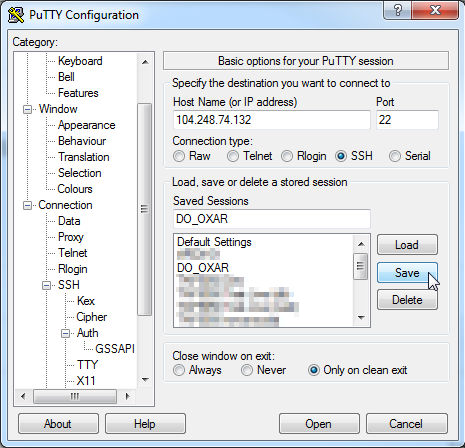
Enter the noted/copied IP address into the Host Name field
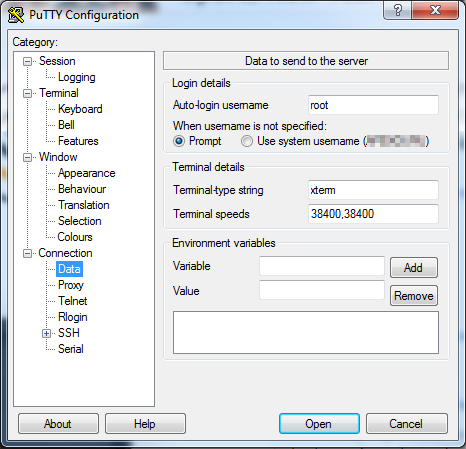
Expand the Connection Category then select the Data item. Enter root into the Auto-login username field.
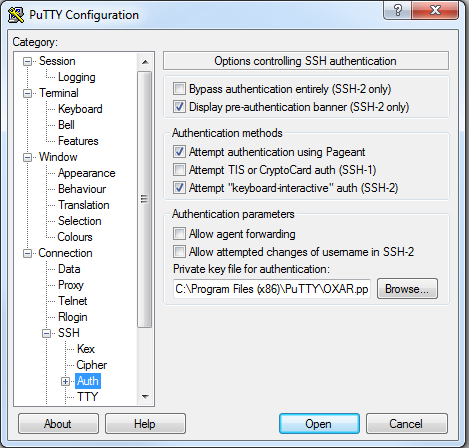
Expand the SSH option and then select the Auth option. For the private key file for authentication field click the Browse button and locate and select the .ppk file that you saved of the SSH key.
Enter a name into the Saved Sessions field and click the Save button (to save the session settings).
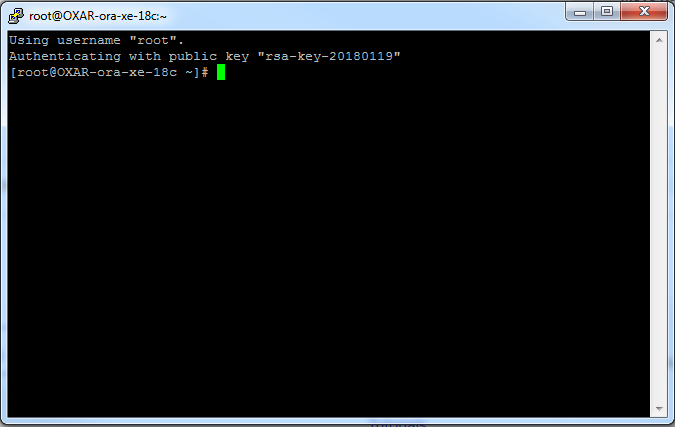
Click the Open button to open the session. The first time you will get a warning about server's host key not being cached in the registry. Click Yes to continue.

You will be connected as the root user
See Part 2 to utilize OXAR to install the Oracle Database XE, ORDS, and APEX.